Loading 3D Model
Error

Site designed and built by David Power ✌️

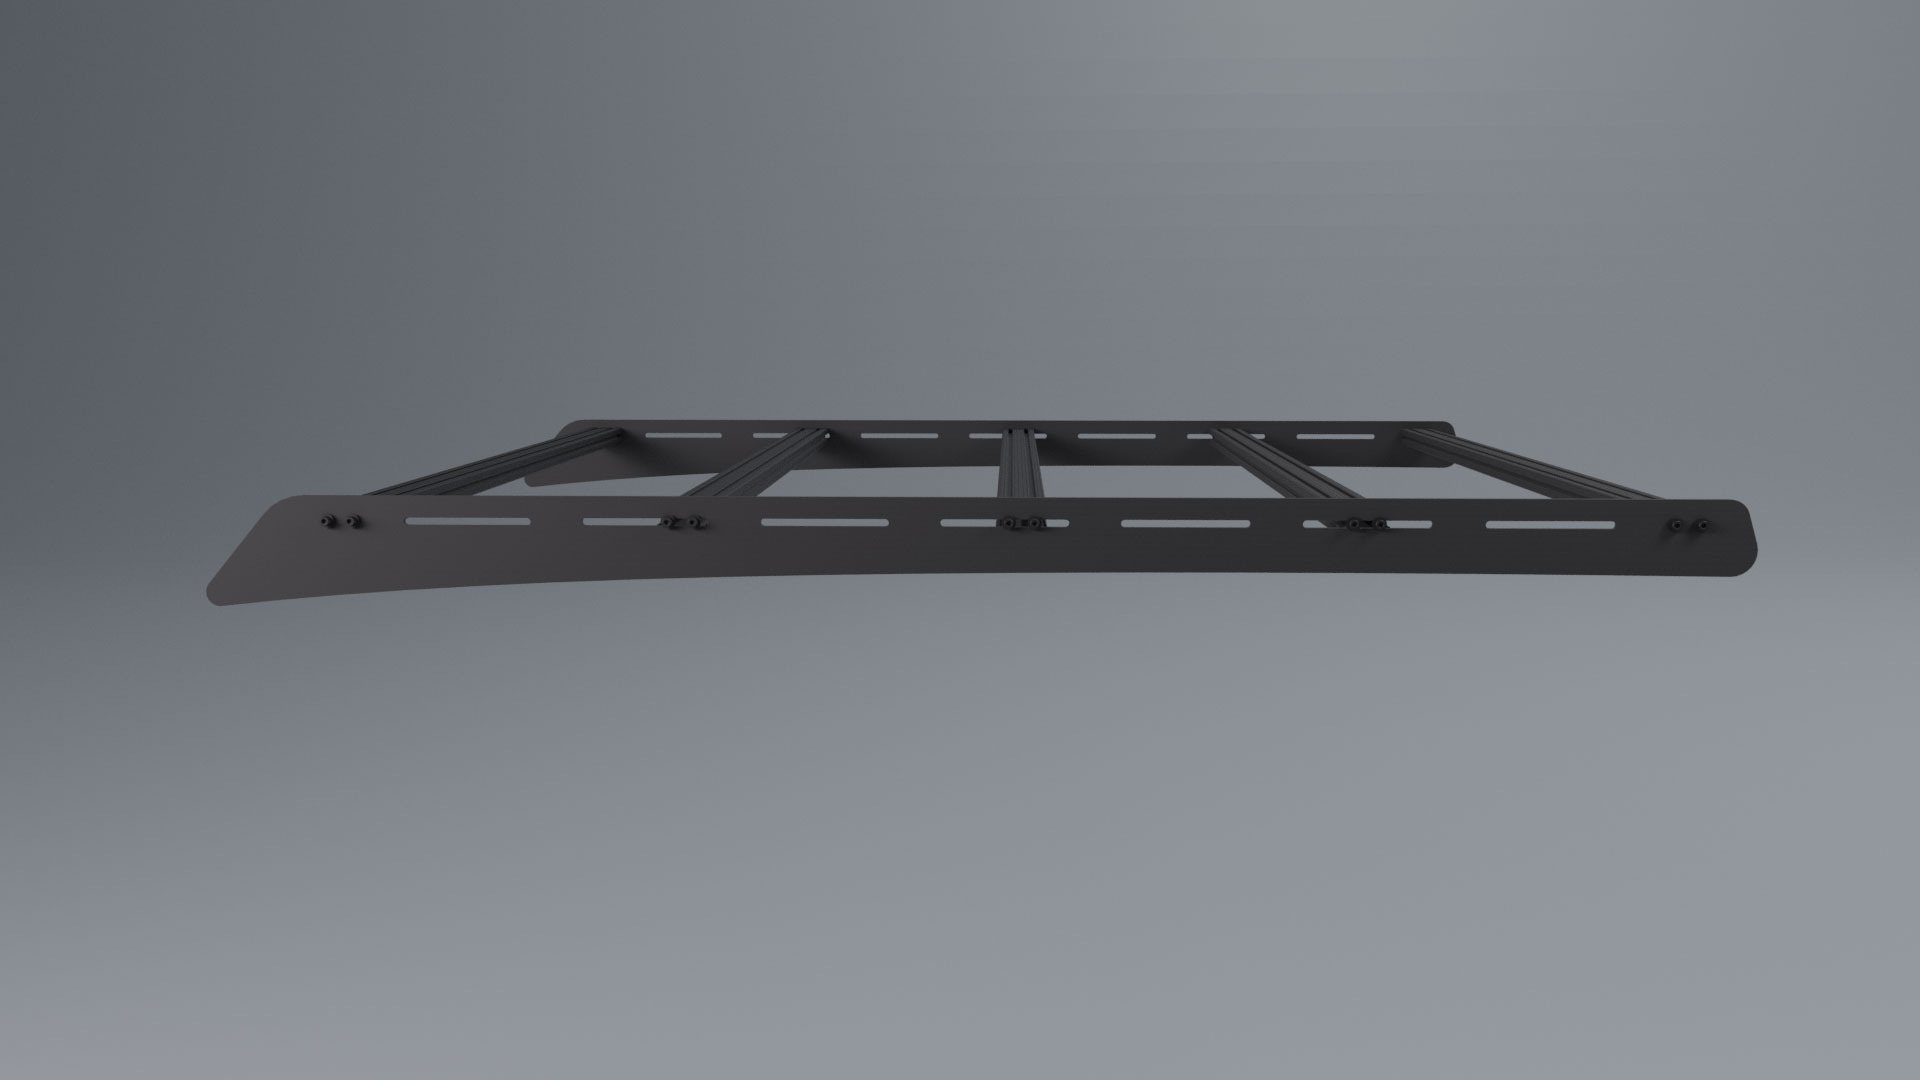
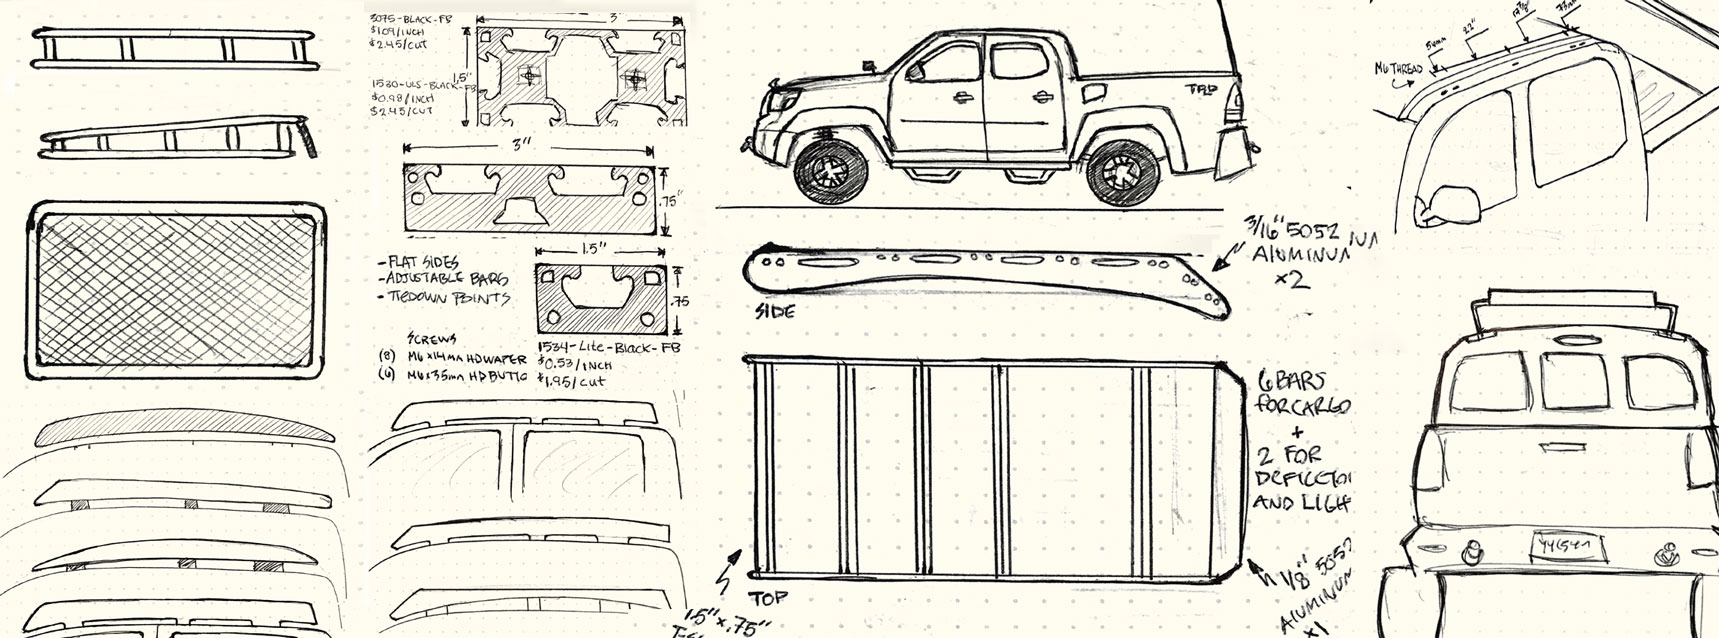
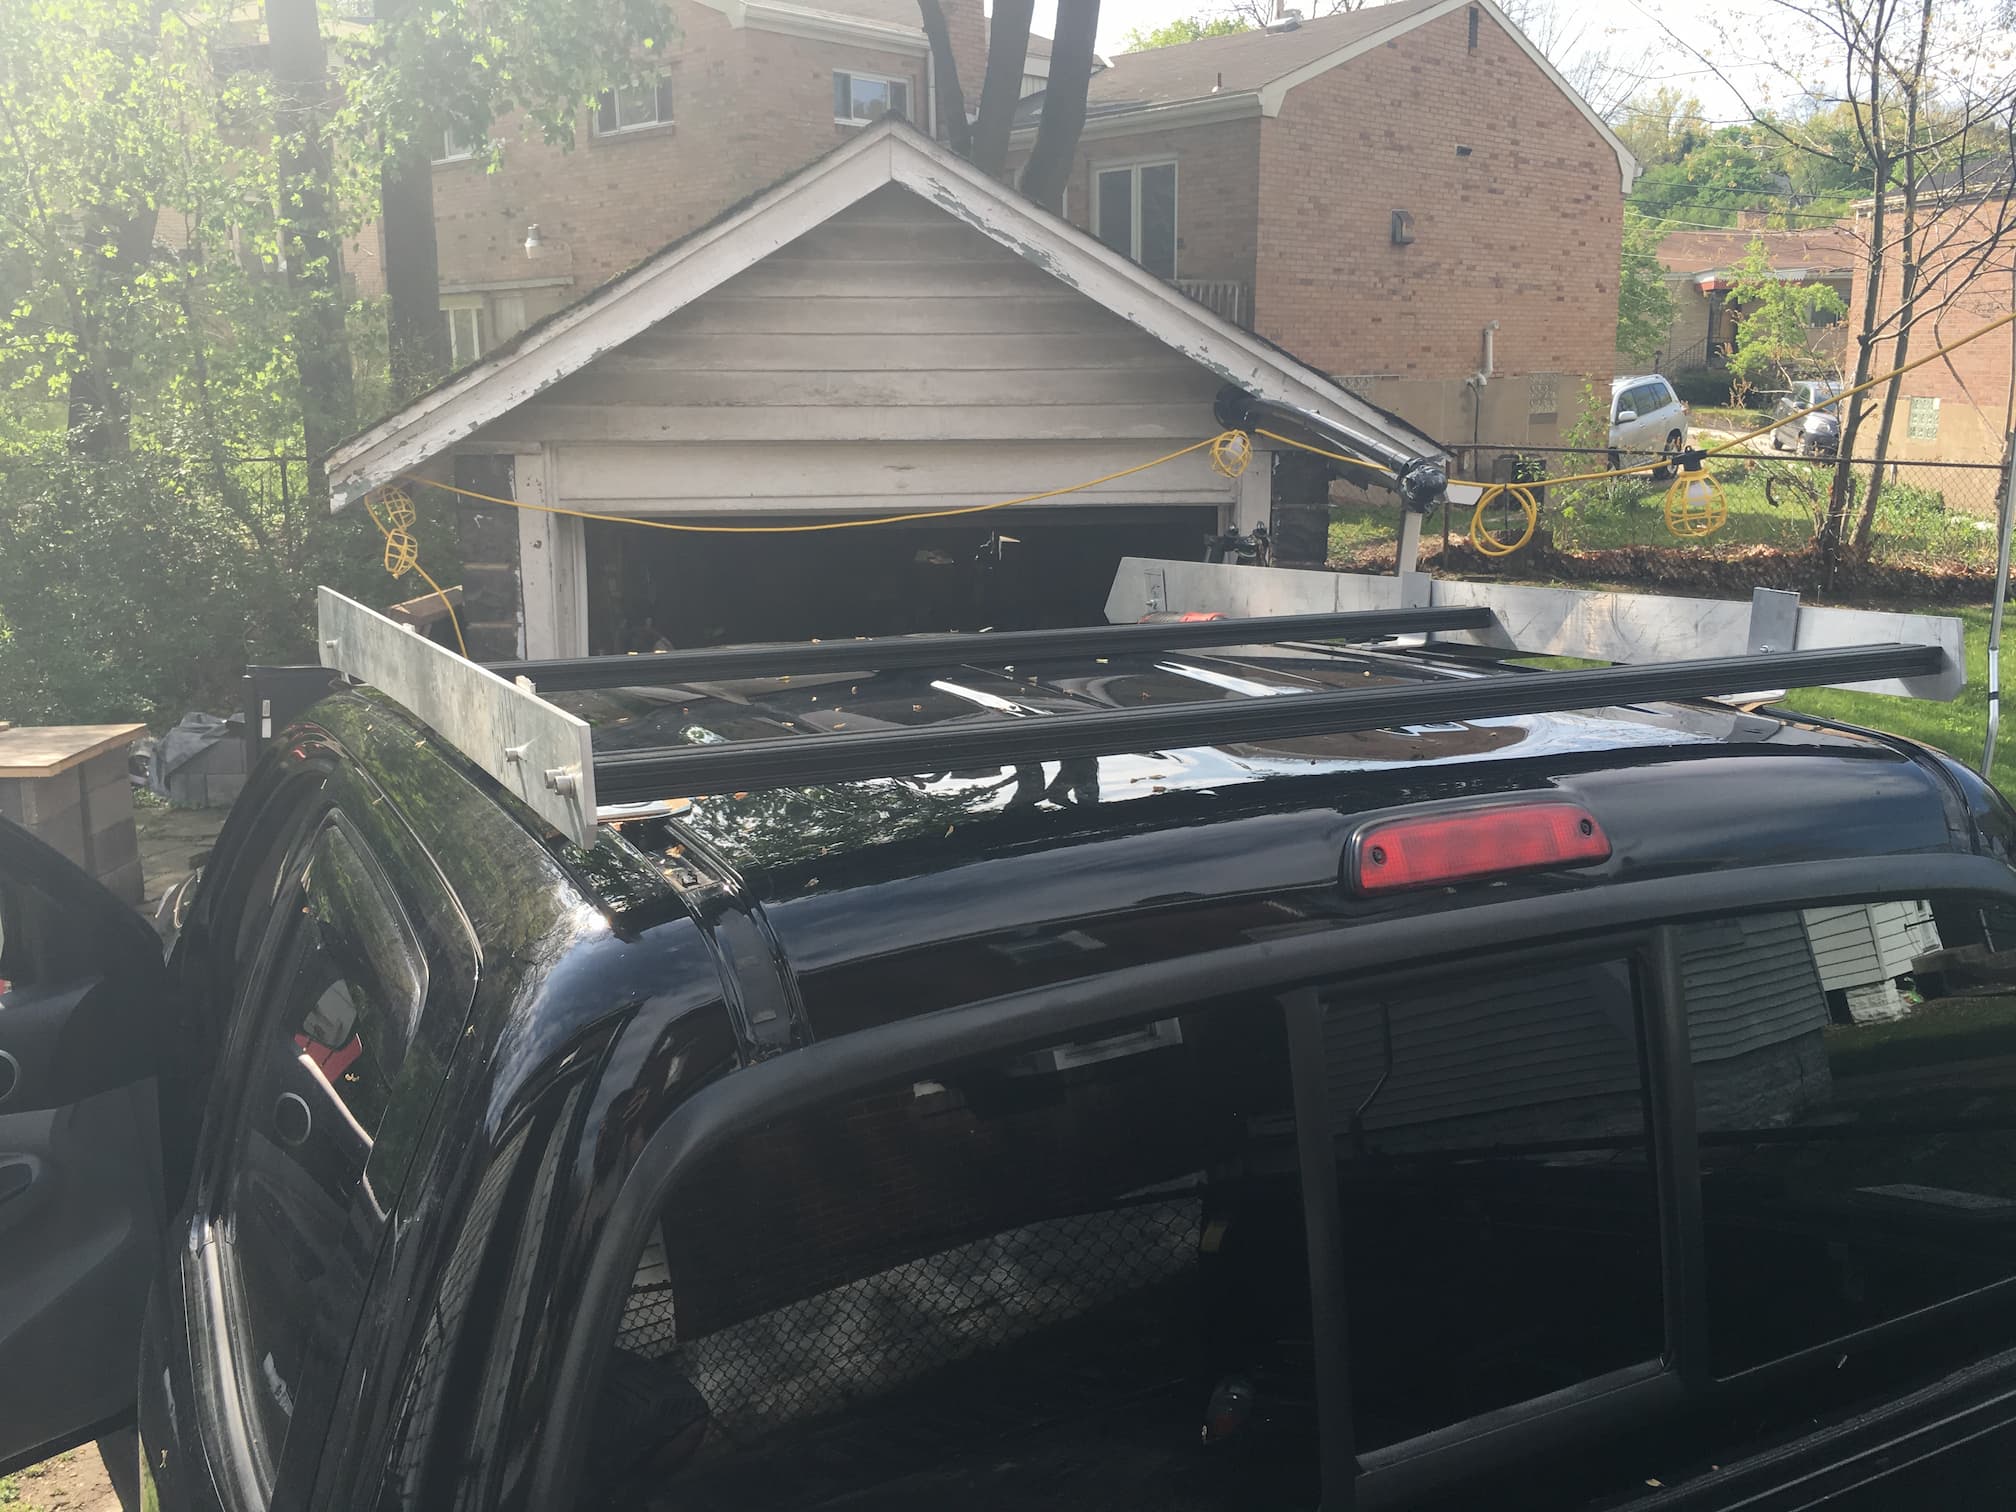
Unsatisfied with the aftermarket roof rack offerings for my Toyota Tacoma, I decided to design my own. Most of the racks out there were either too tall/clunky for my taste, or lacked the utility I was looking for. The final product is constructed of two aluminum side panels connected by aluminum extrusion cross bars.
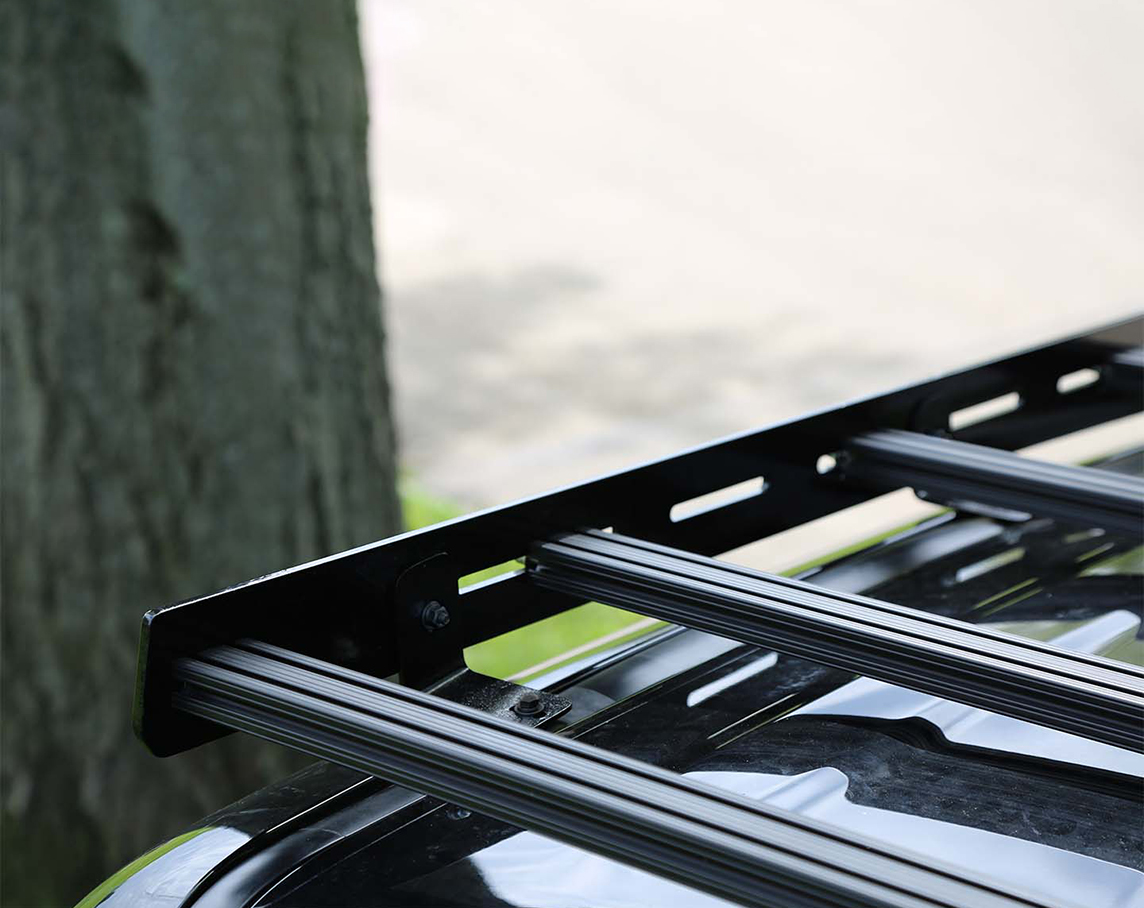
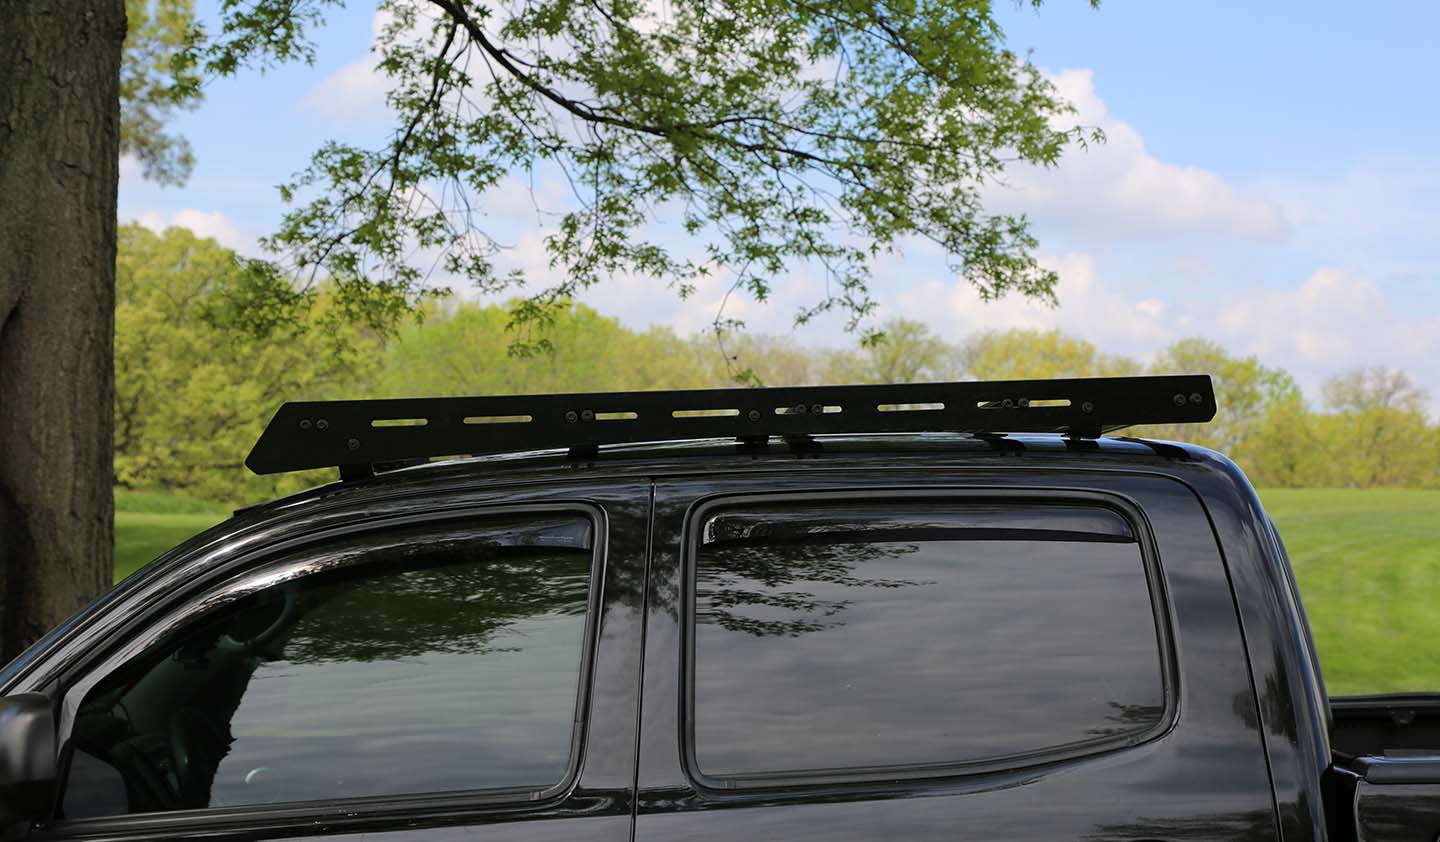
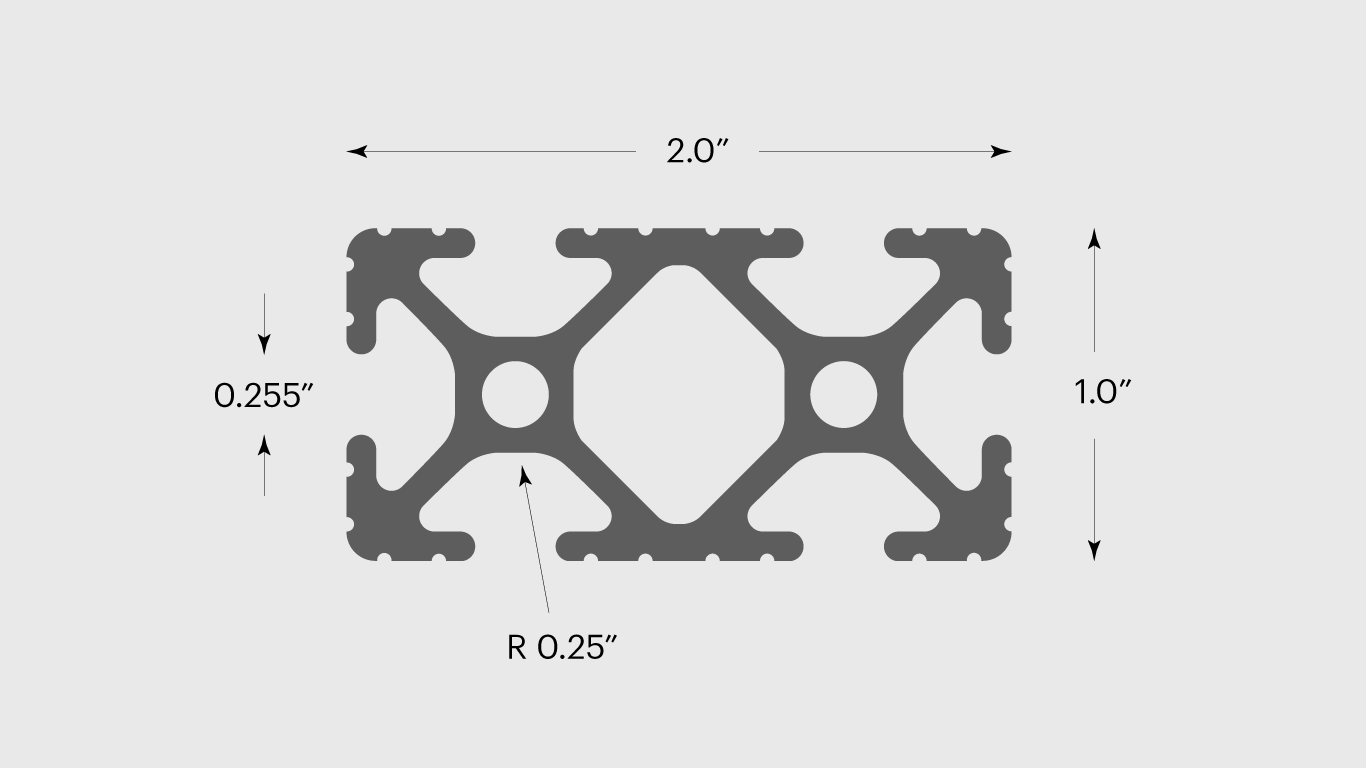
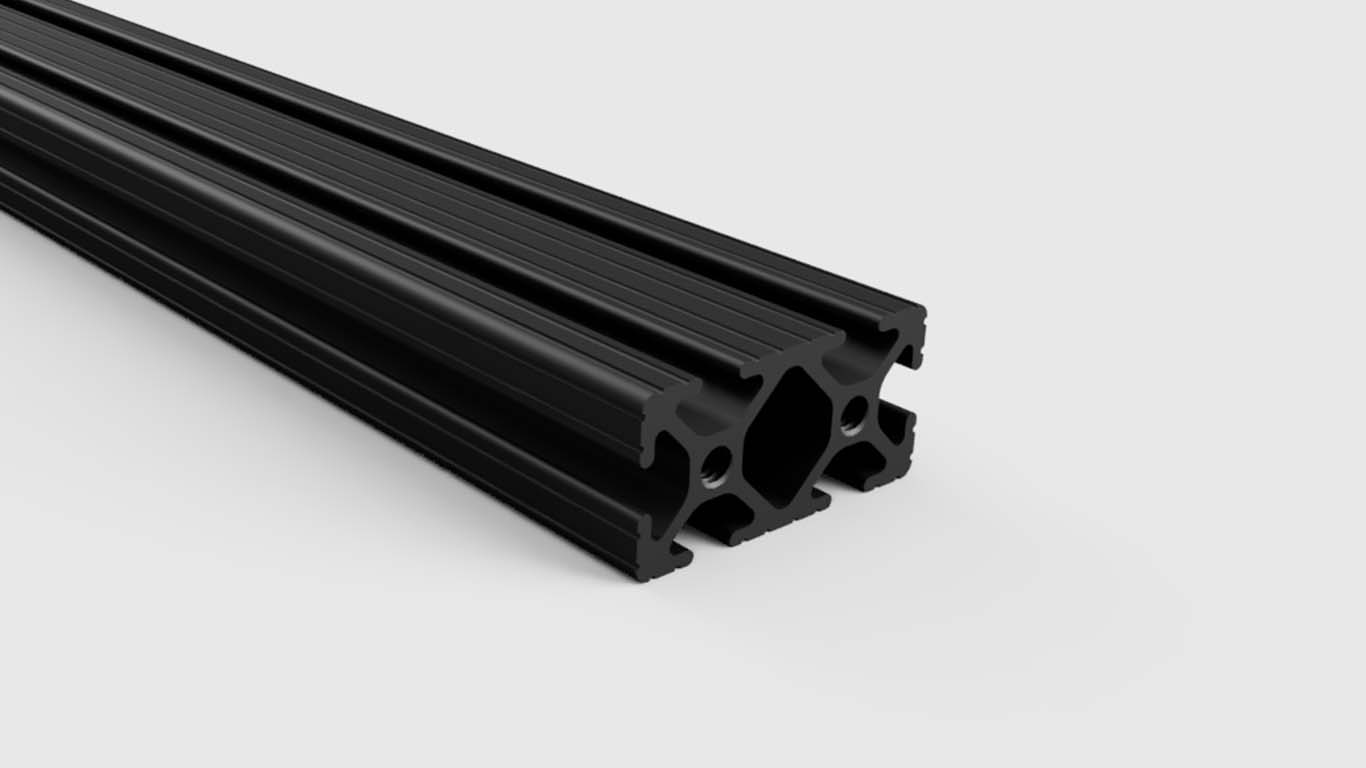
The crossbars are 1" x 2" black-anondized structural aluminum extrusions with t-slots on all 4 sides. A range of nuts, bolts, and brackets can be fastened in the slots, allowing for easy off the shelf or custom made mounting and tie-down solutions. I tapped the ends to receive two 1/4"-20 bolts (with washers) on each side to secure them to the side panels.
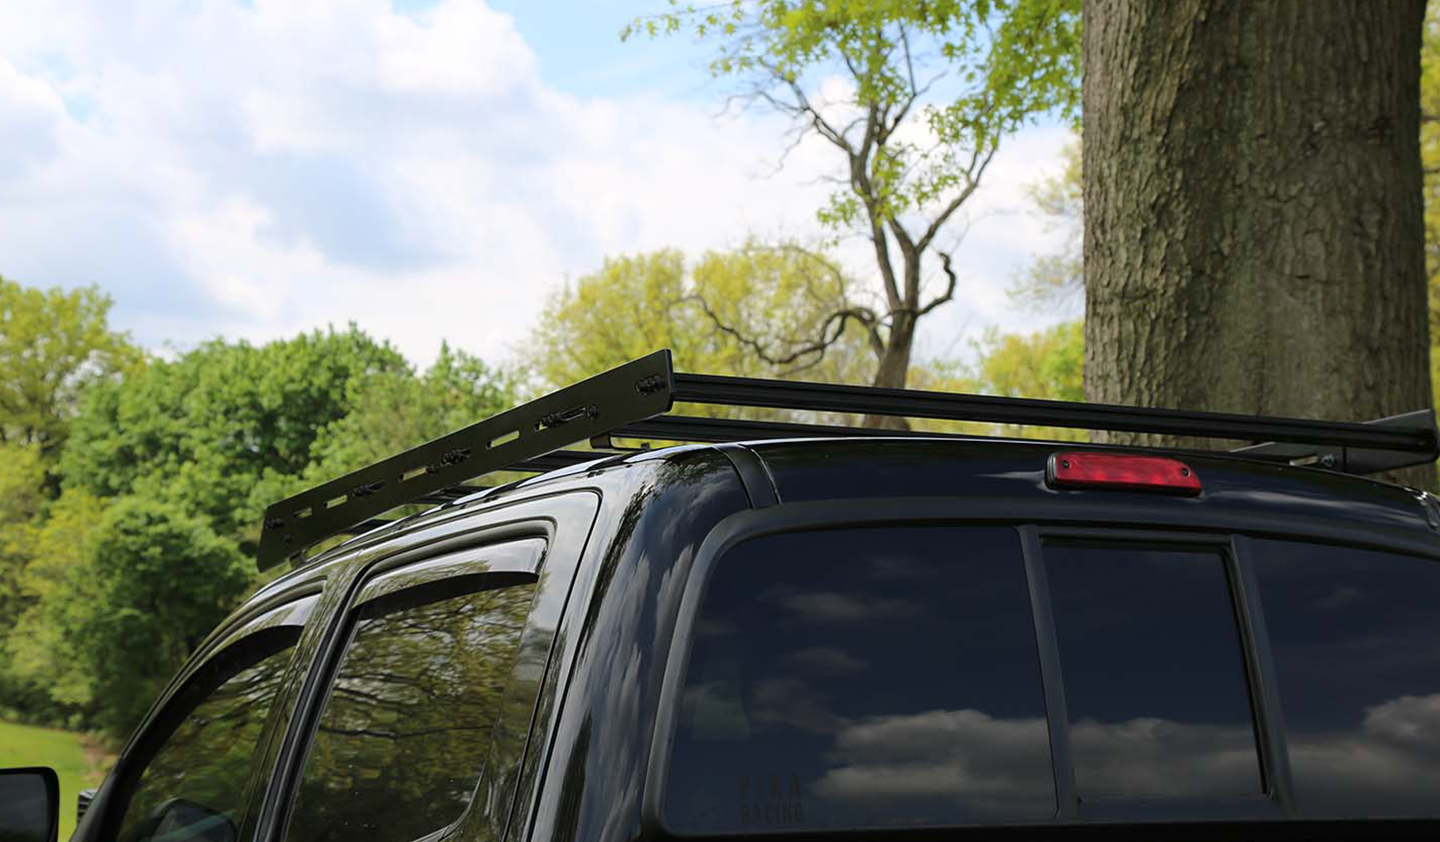
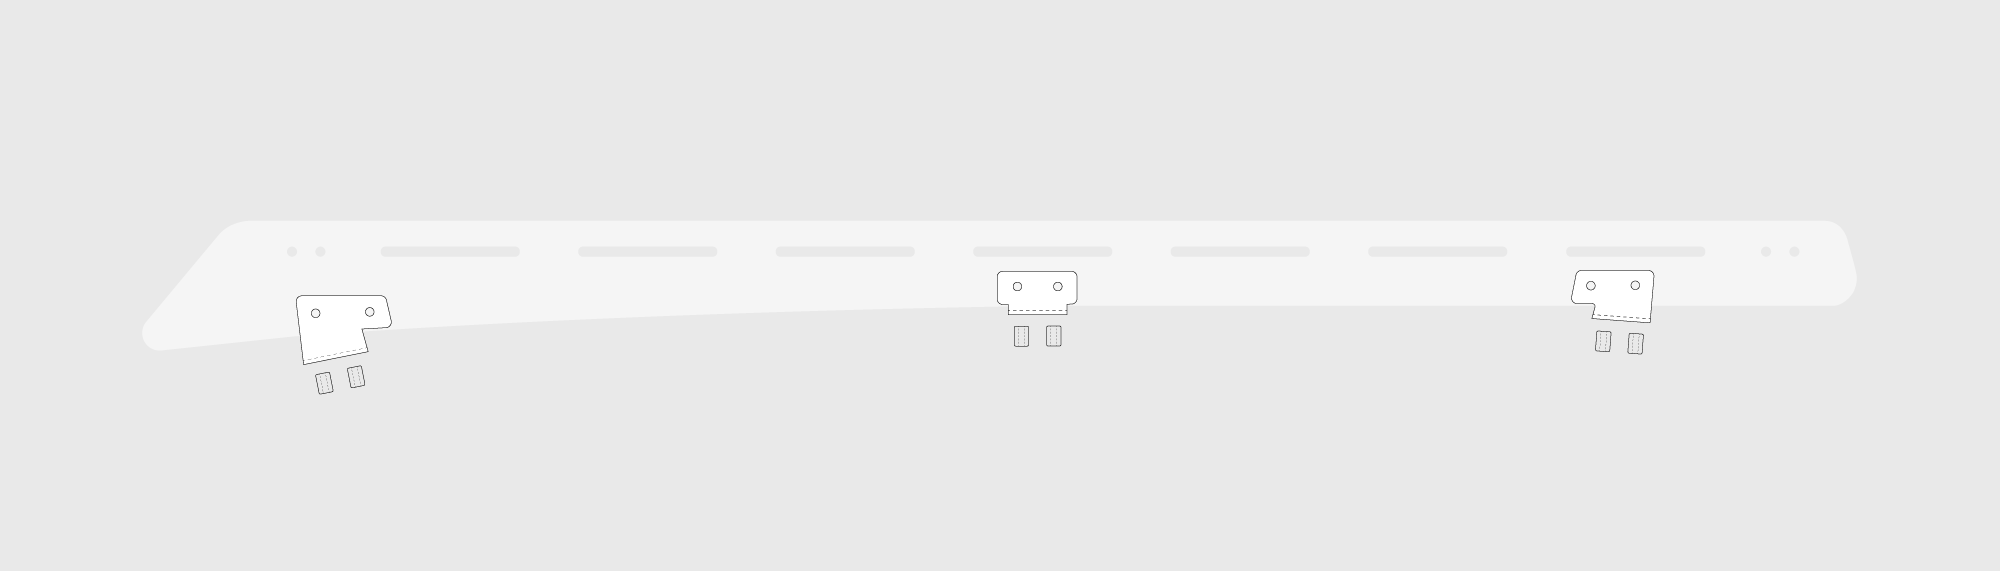
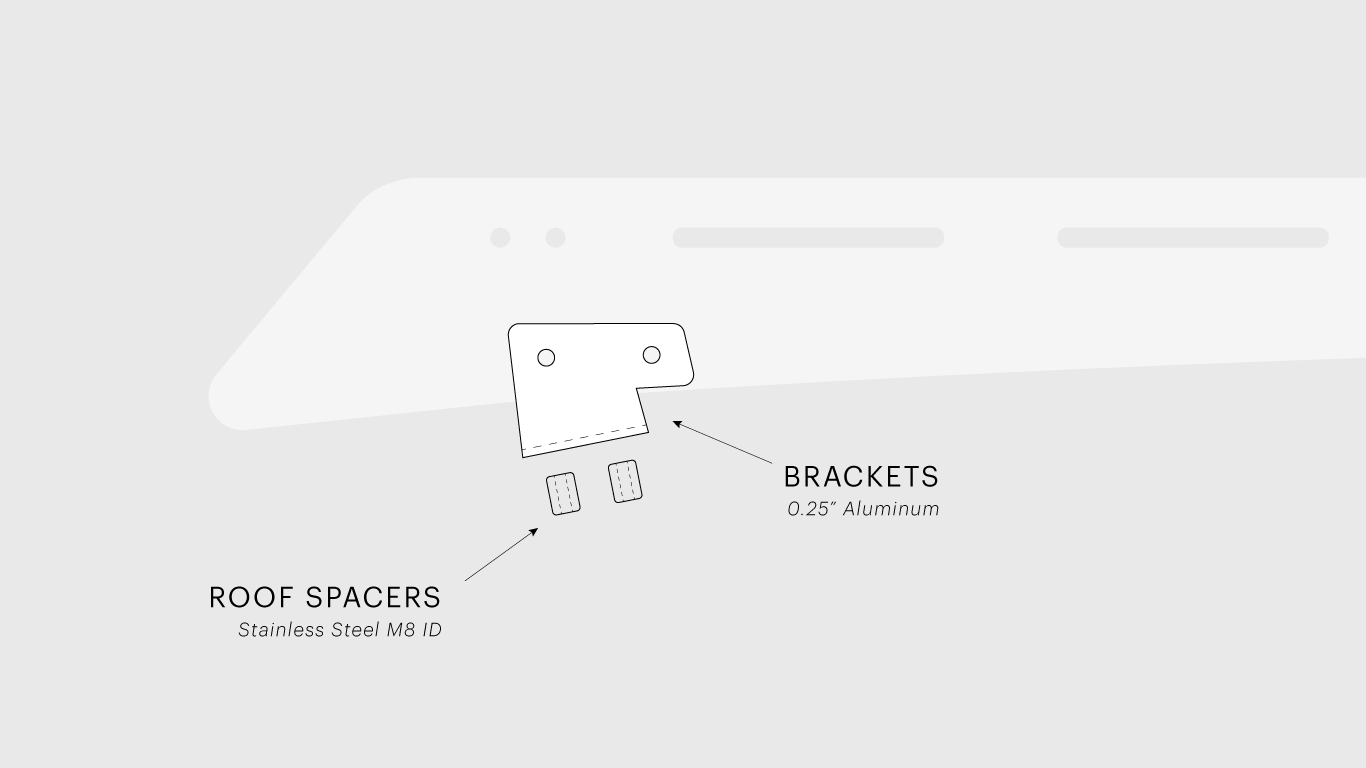
The rack mounts to the truck on aluminum brackets that bolt into factory holes tapped into the gutters on the roof. I debated making the brackets integral to the side panels, but ultimately decided seperate parts would provide room for fine adjustments. Each bracket is slightly different, accounting for the arch of the roof.
To avoid the brackets resting directly on the roof and scratching its paint, heavy duty spacers were required to bridge the gap between the brackets and the 1/2" deep "rain gutters" that run along each side of the roof. The gutters are filled with rubber strips, which had to be temporarily removed to drill out holes for the spacers to pass through. M8 bolts screw everything together directly into the roof.
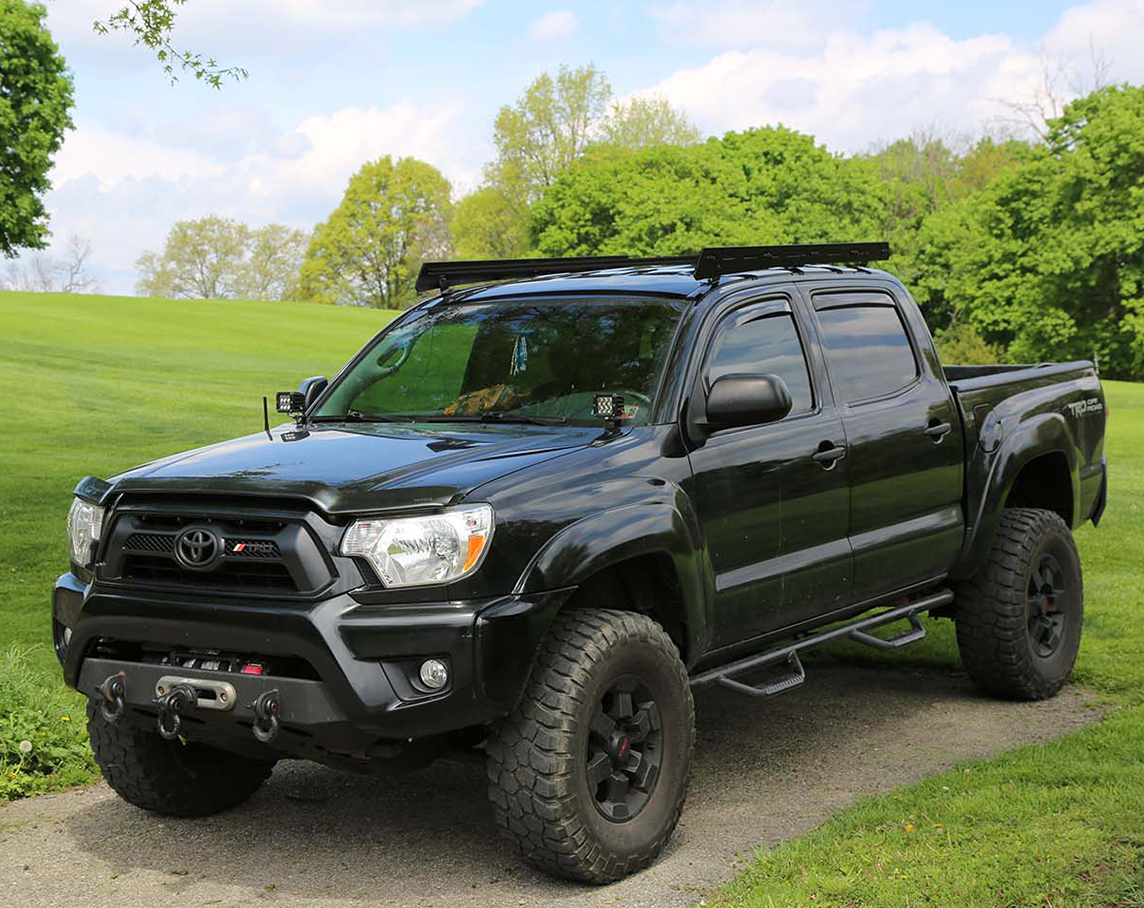
I wanted the rack to sit as low as possible, so accounting for the curvature of the roof was critical. I fabricated a full scale mockup using plywood side panels, 1x3 furring strips as crossbars, and mounting brackets made from acrylic which were quickly bent into shape with a MAP torch. This process really helped me dial in on the optimal dimensions and identify potentilly problematic aspects of my design. The center crossbar, which is at the apex of the roof, ended up offset about 12mm from the roof - enough clearance to allow for a reasonable amount of deflection under heavy load.
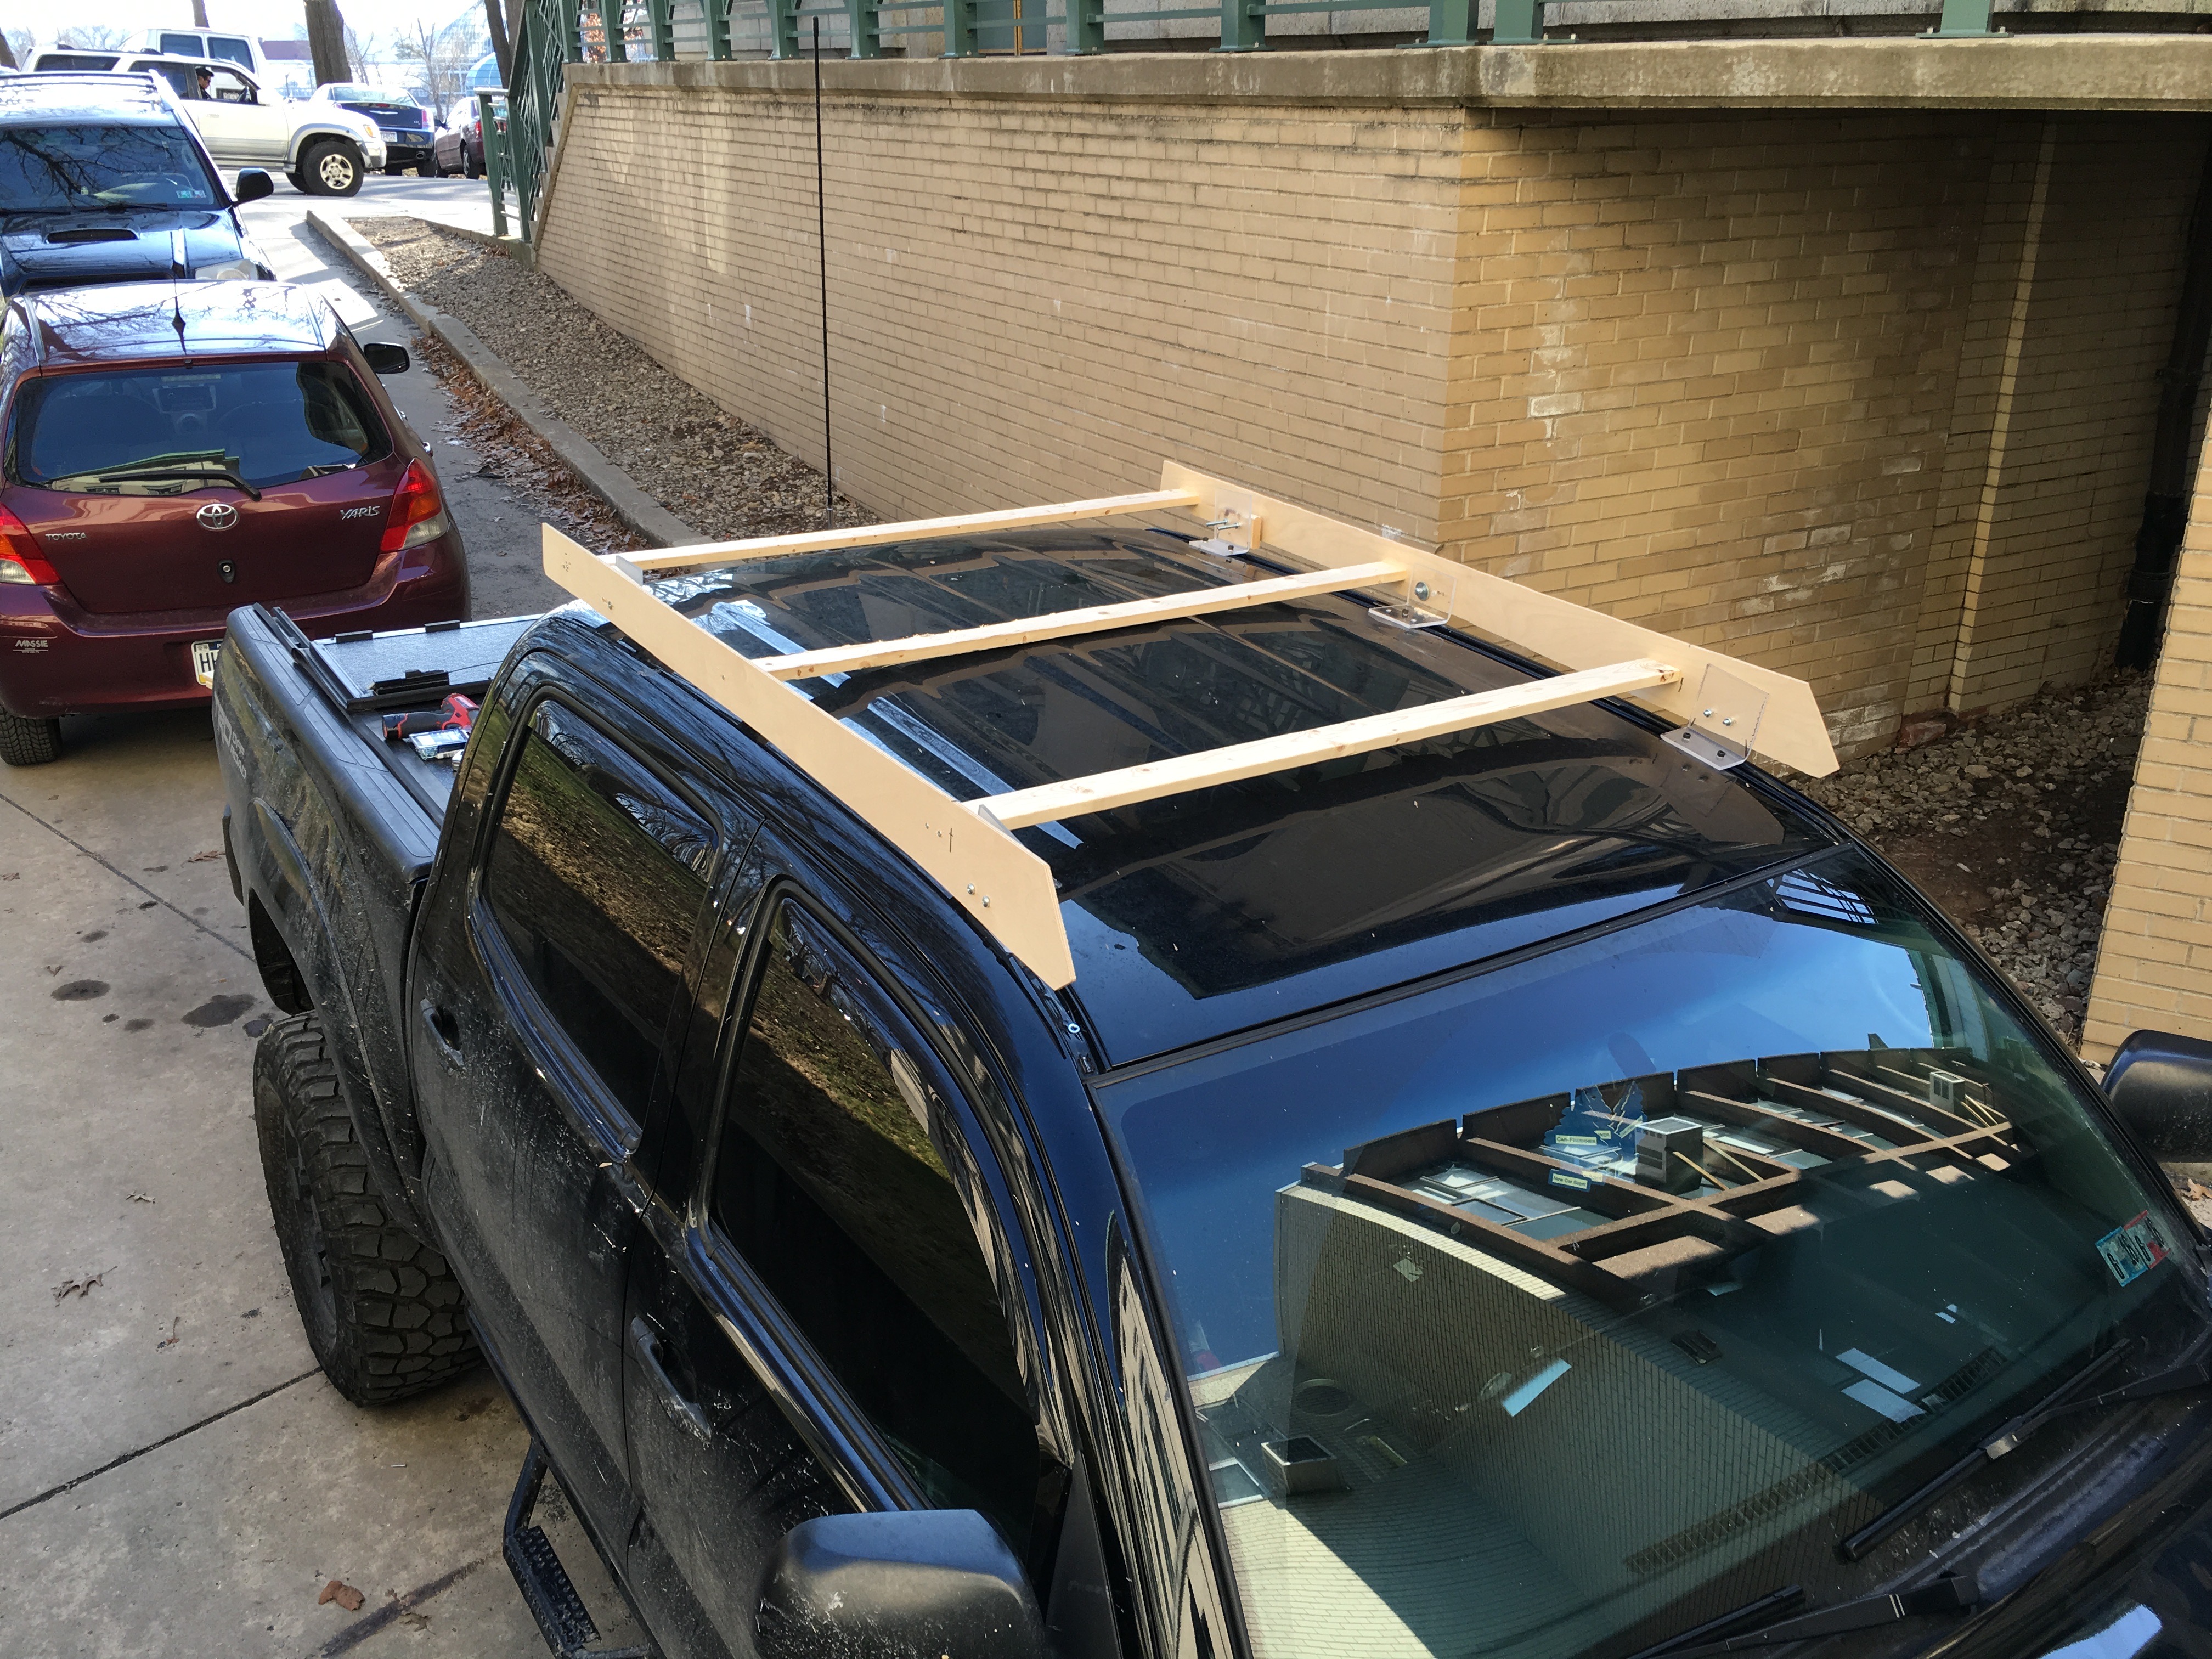
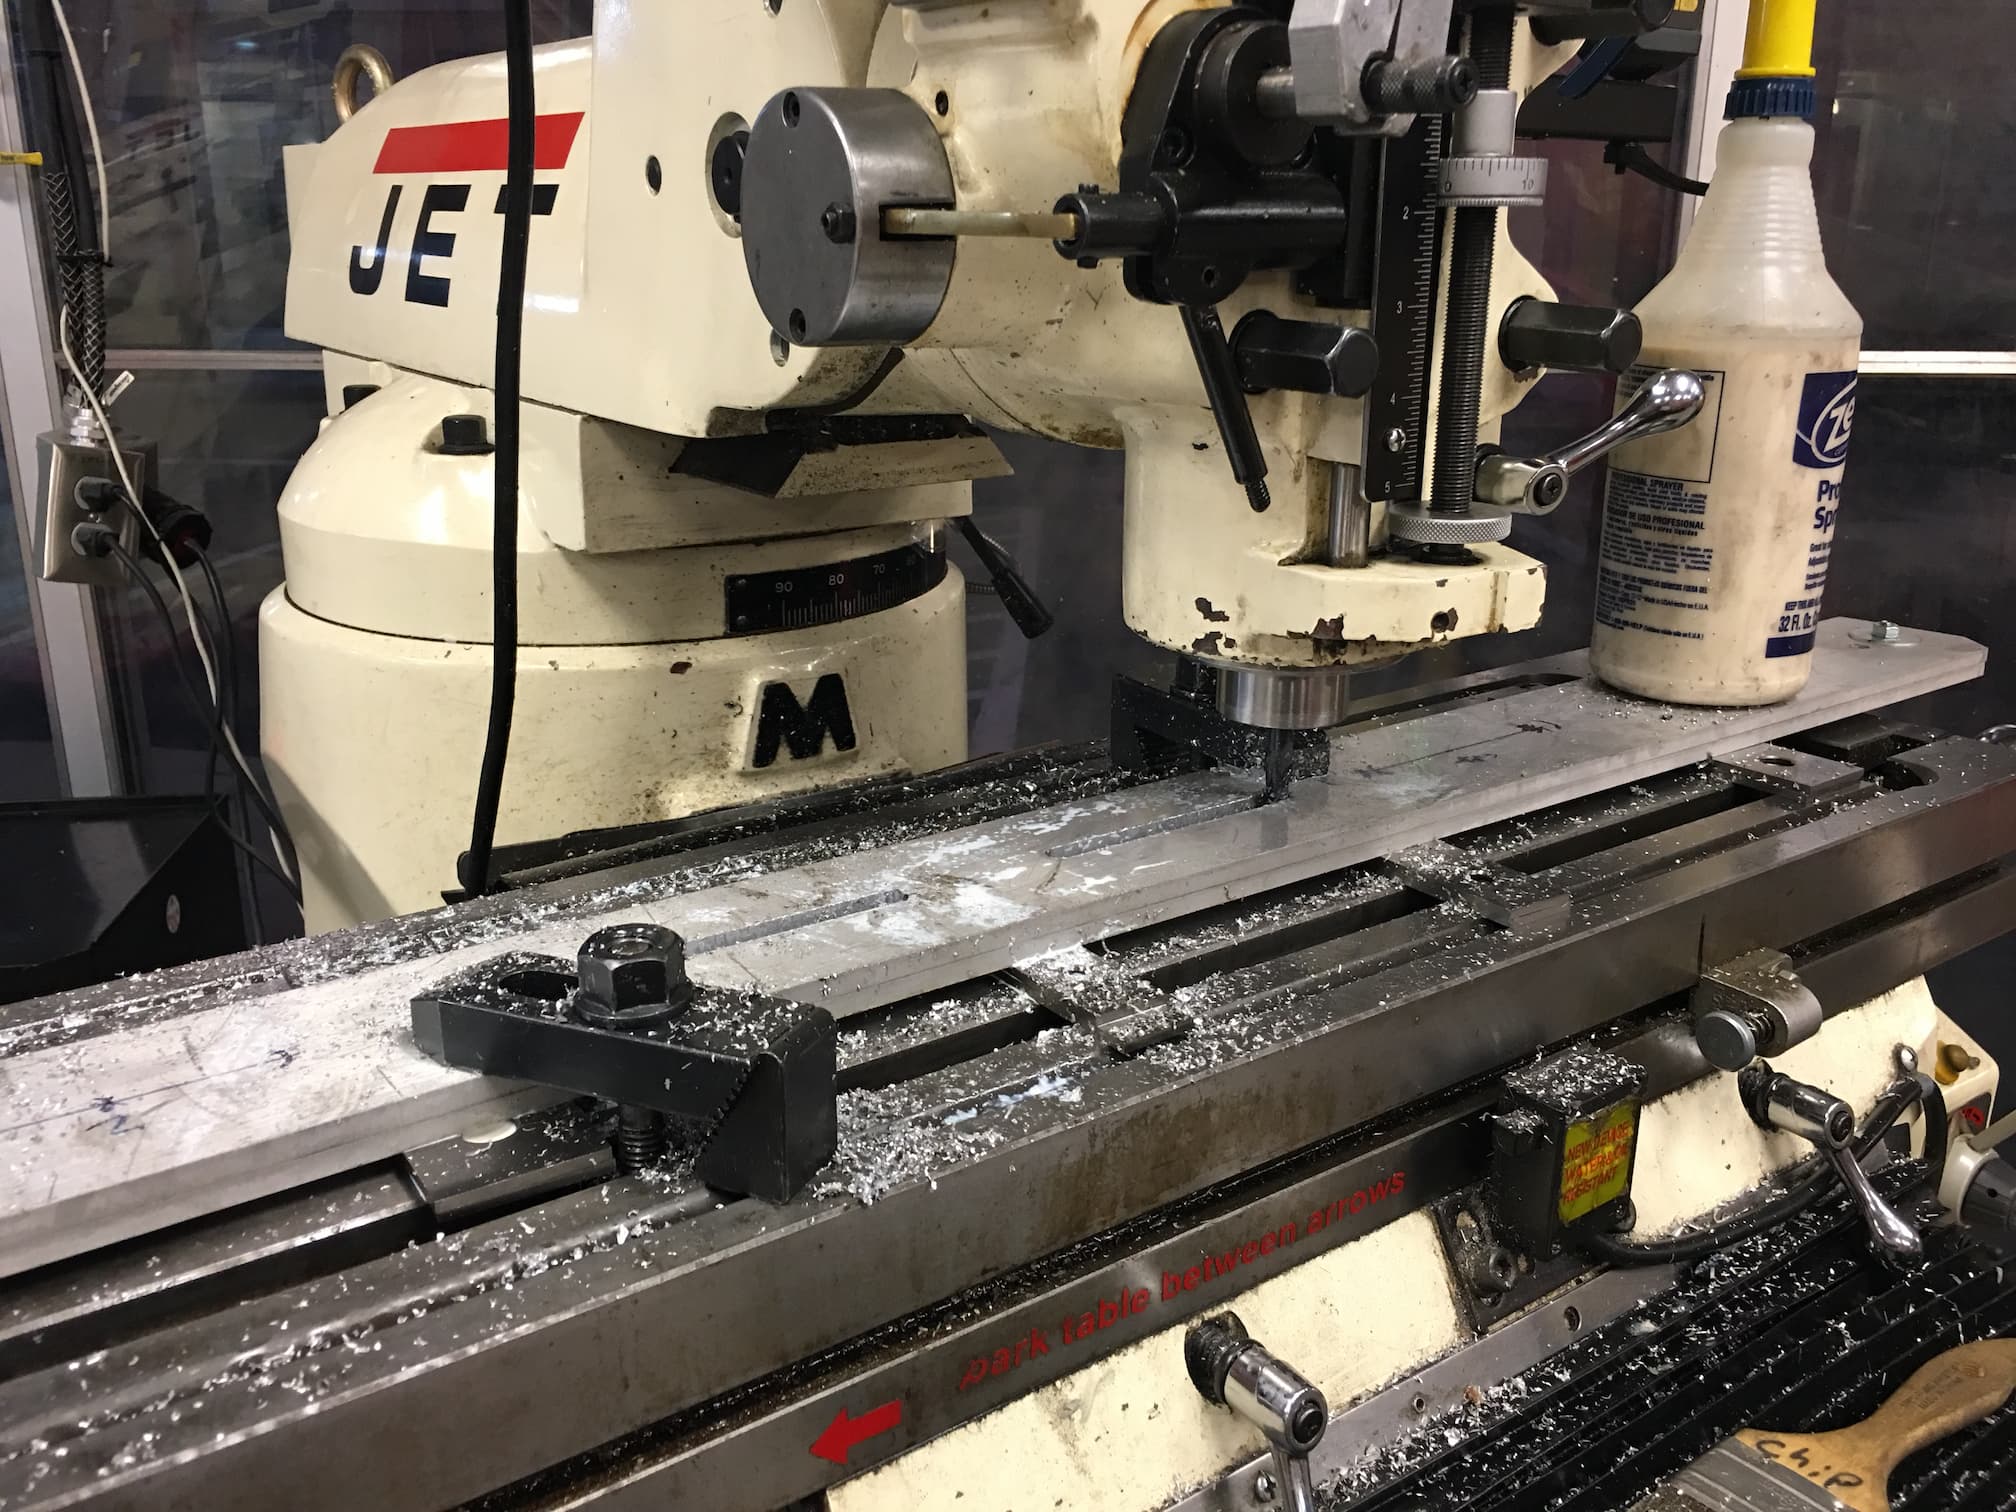
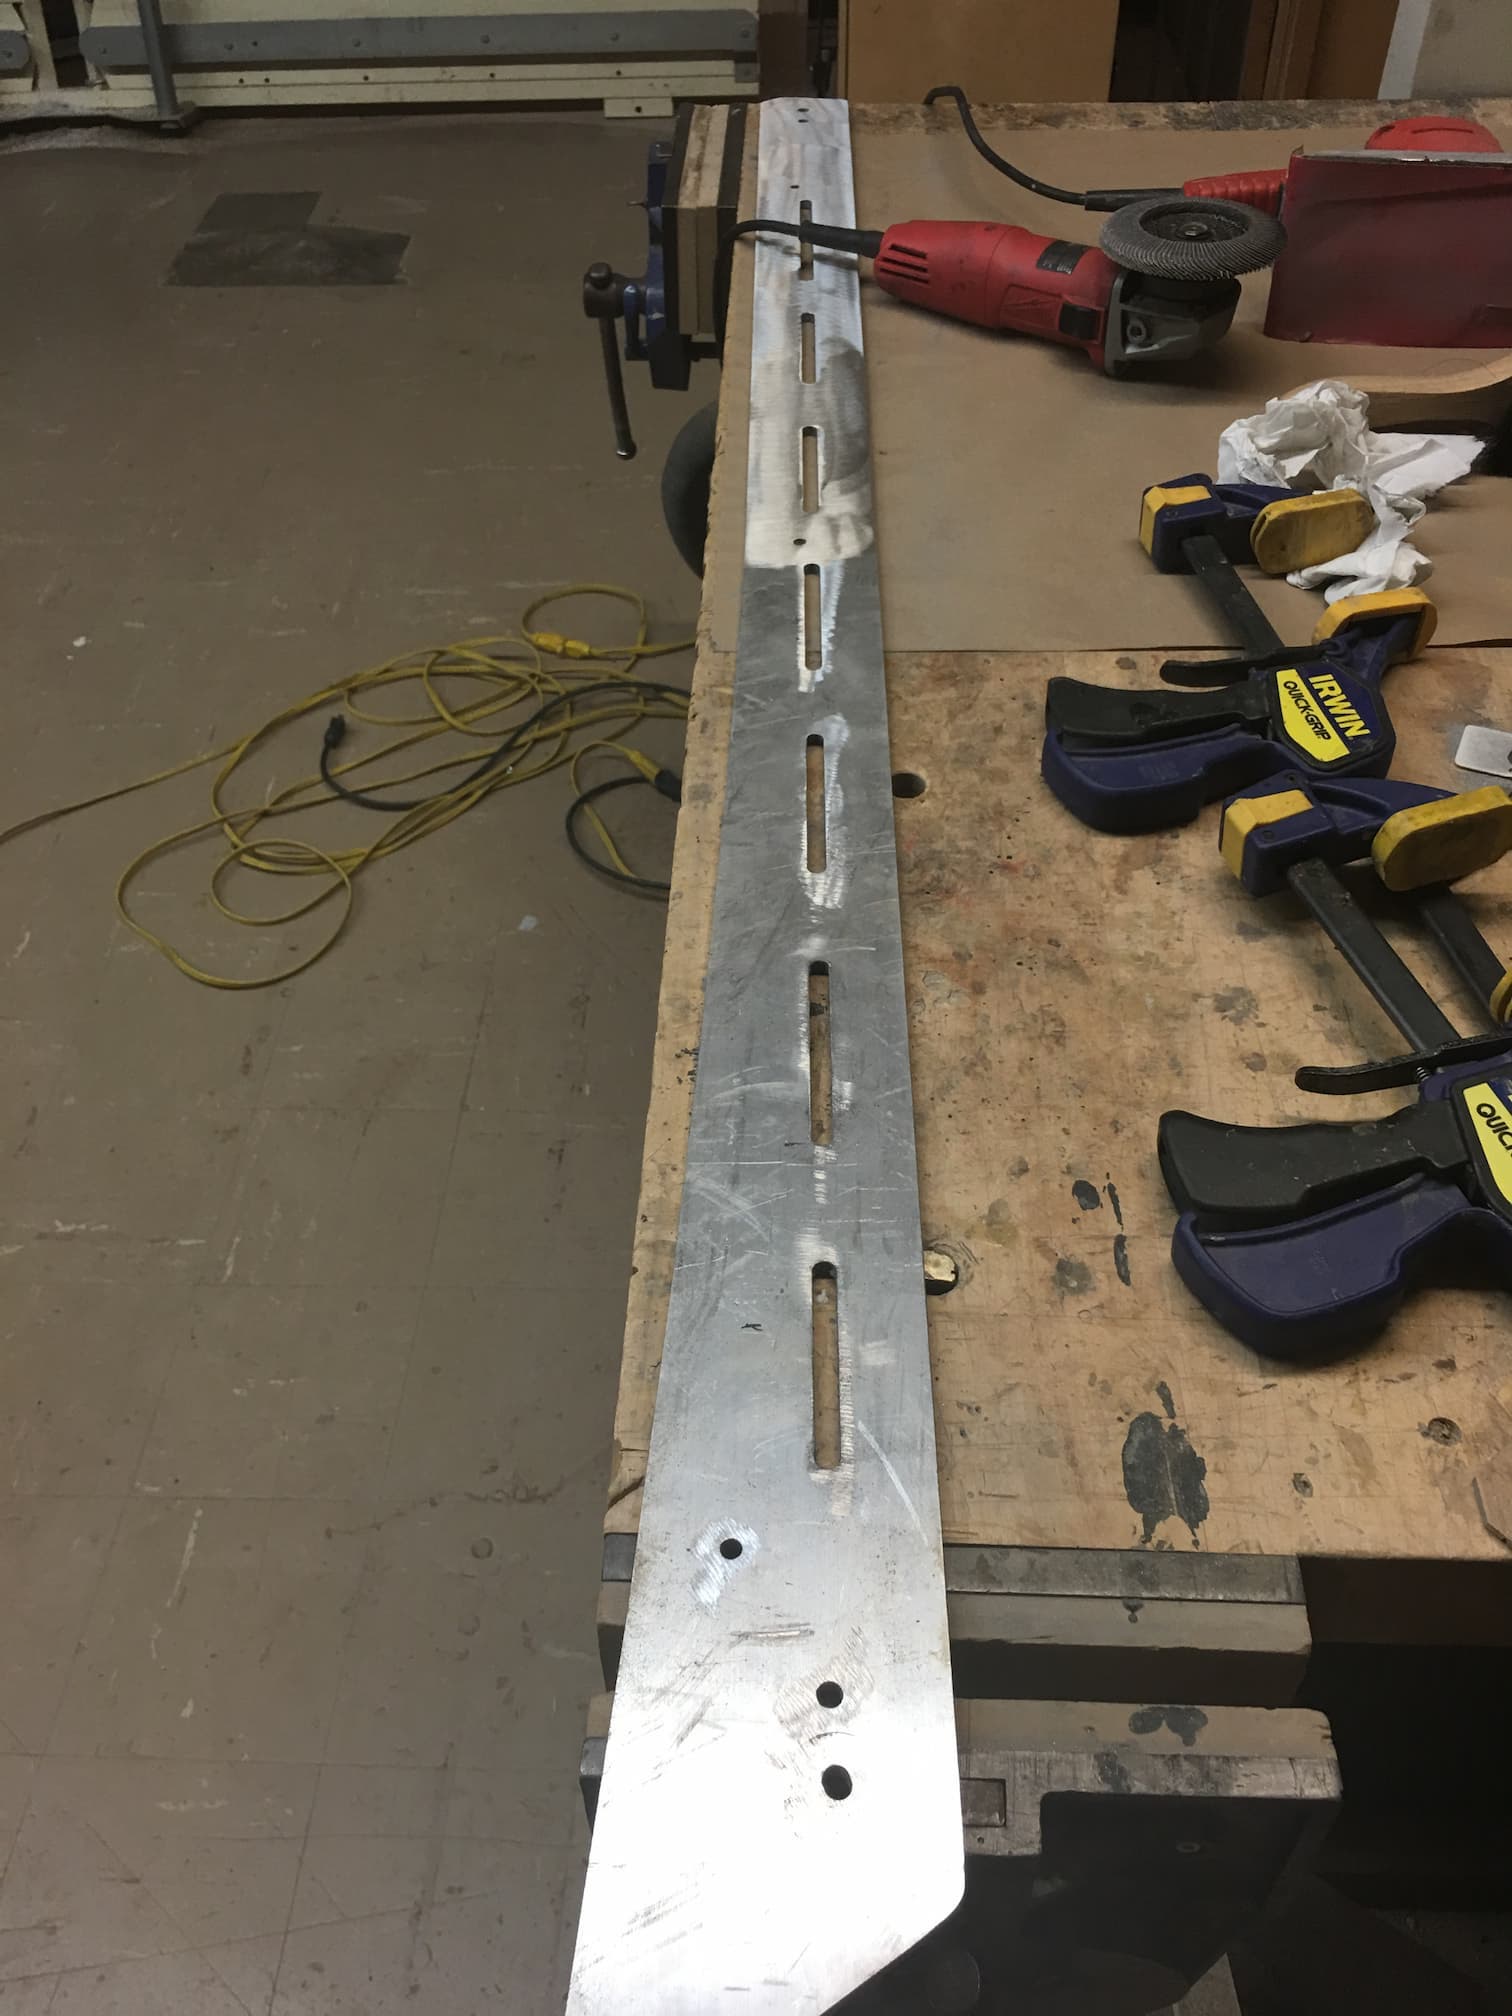
In order to ensure the slots matched perfectly on both sides, I first drilled out the front and rear holes then bolted the panels together so I could cut through both at once.
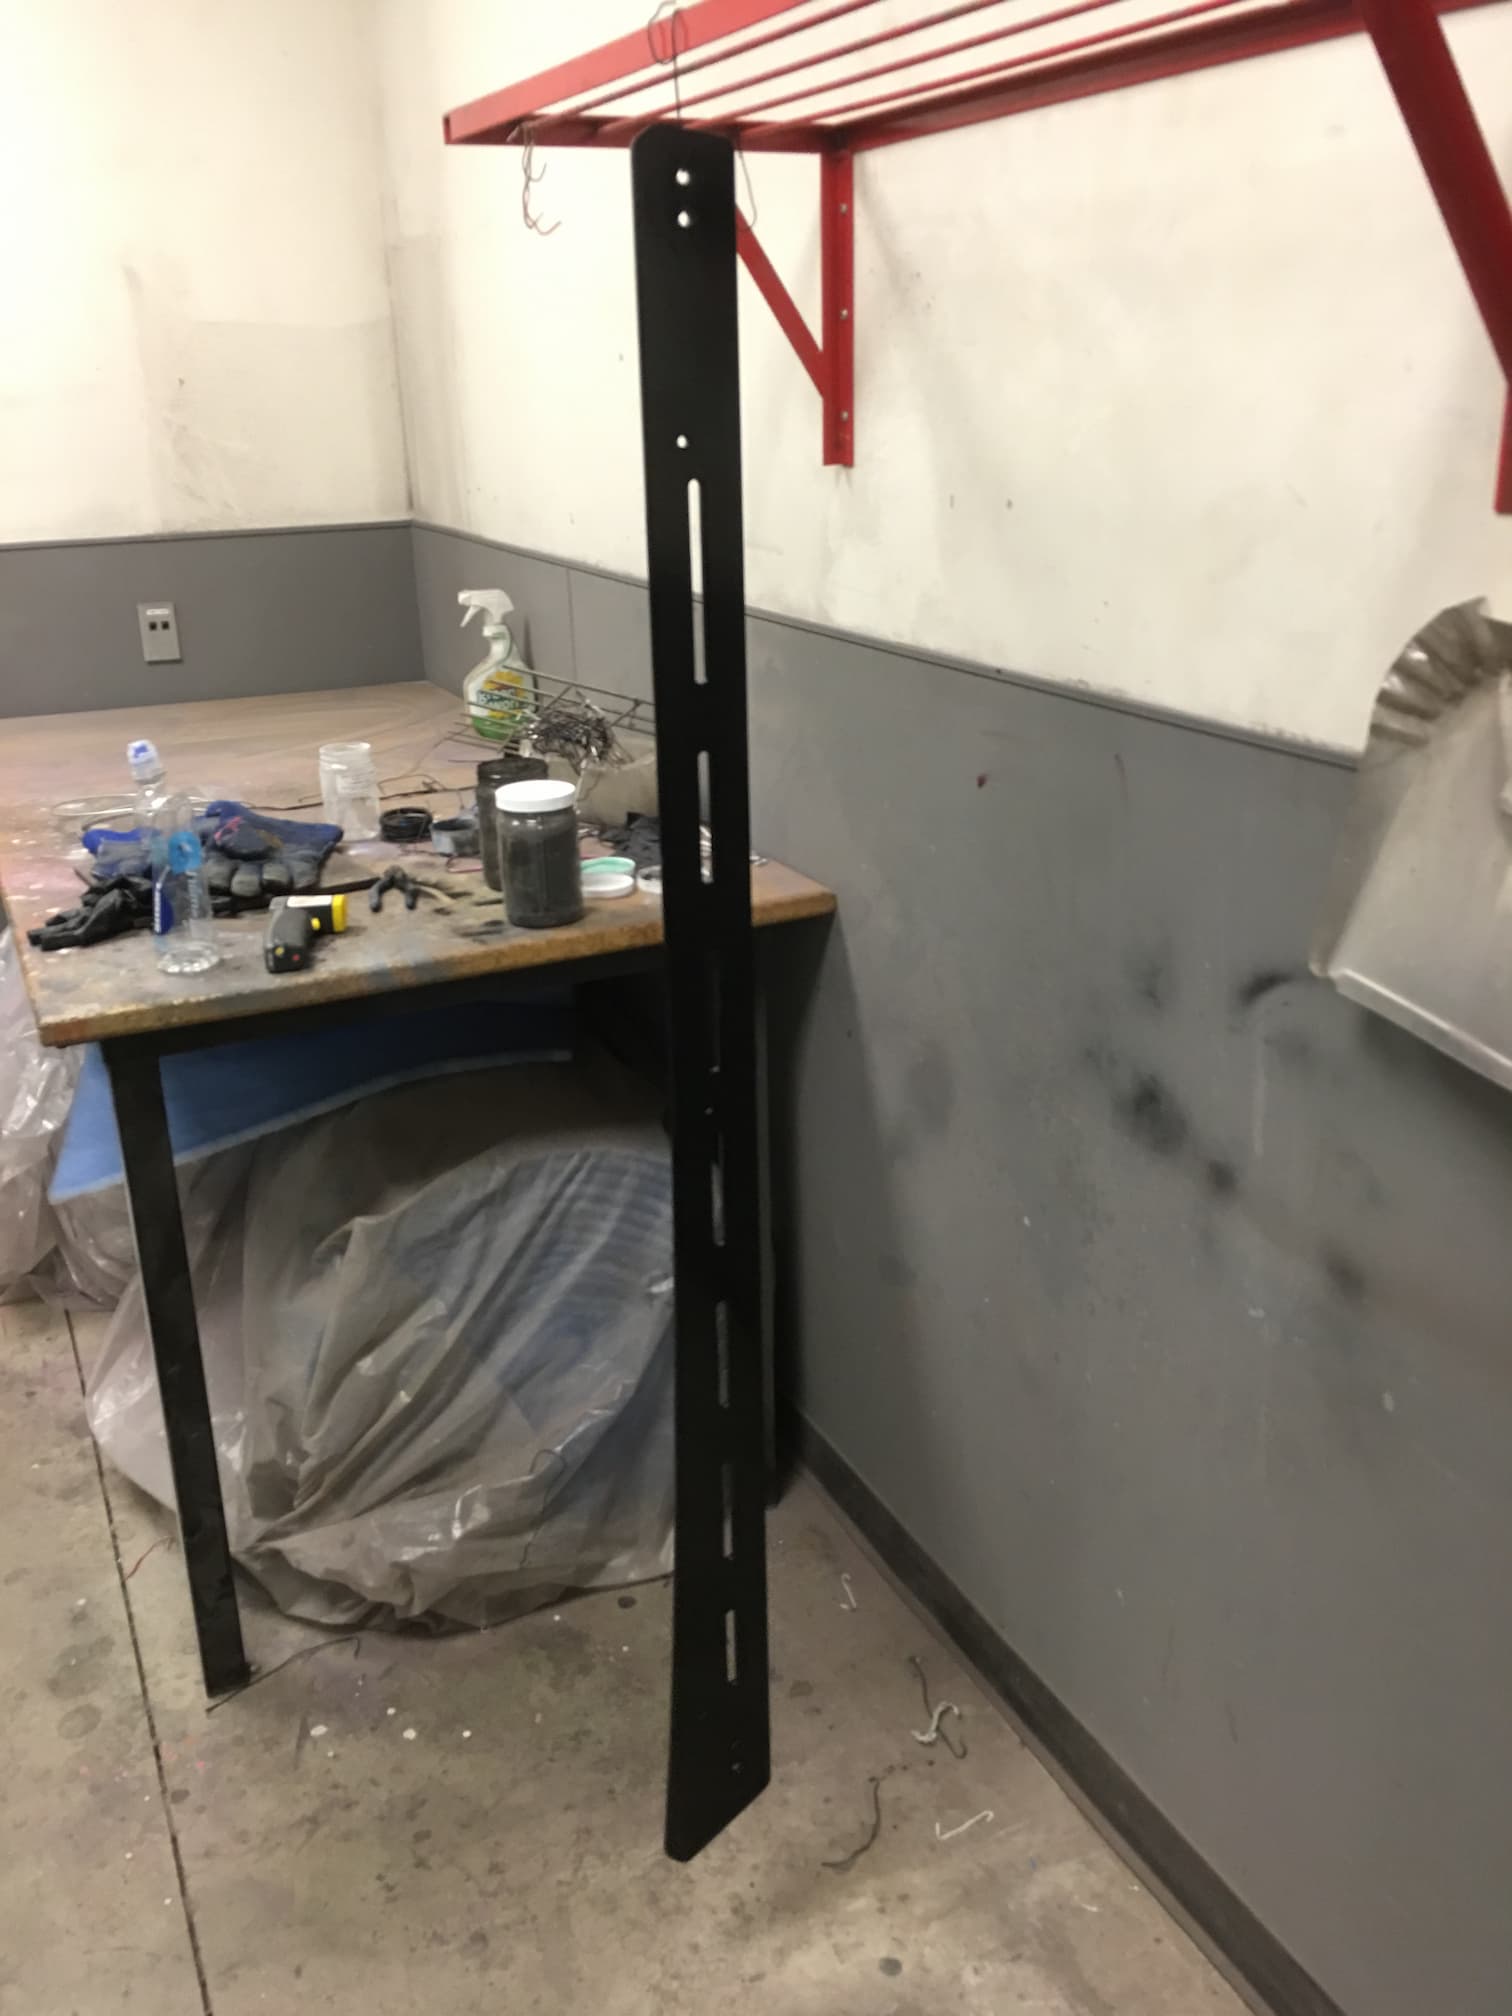
The local TechShop (RIP 😥) was equipped with a full size powdercoating booth. So after grinding away imperfections, slightly polishing, and meticulously cleaning and degreasing, I sprayed the panels satin black and baked them in the oven.
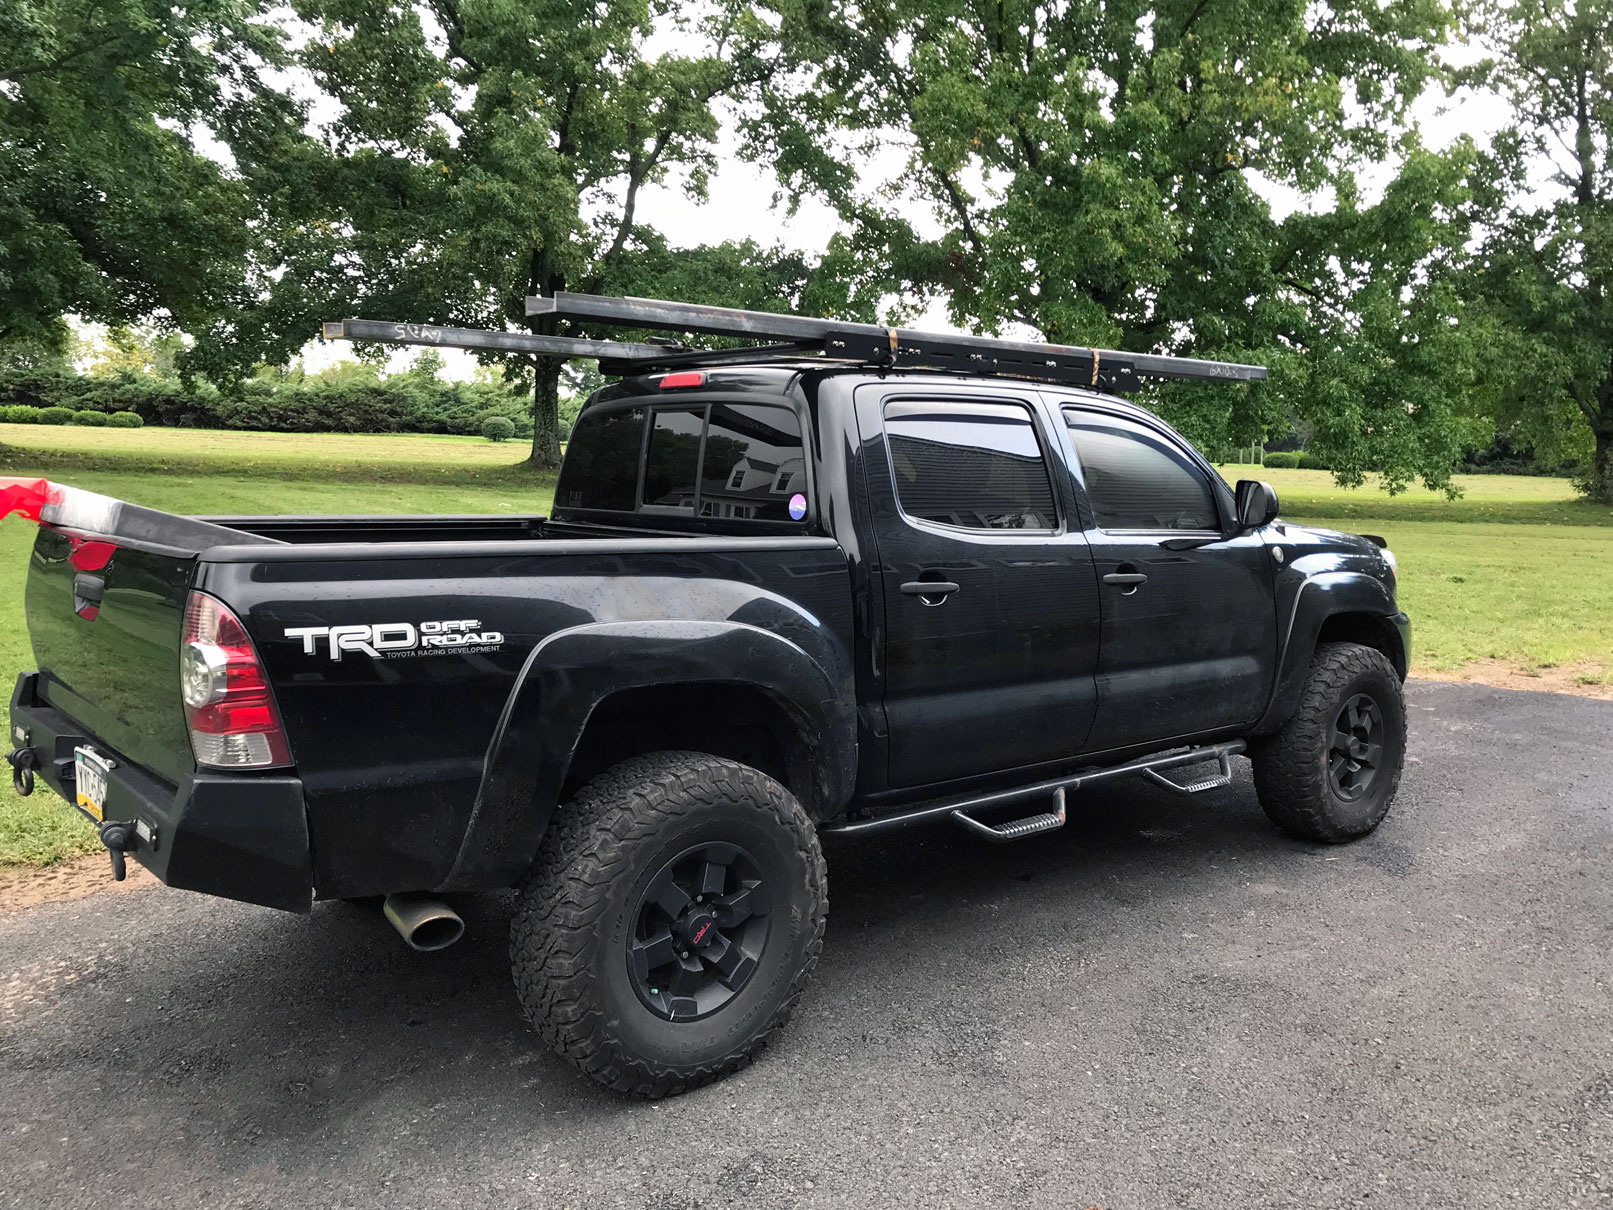
The rack has performed wonderfully whether I'm out purchasing materials or helping friends move. Distributed across five crossbars, I had no deflection issues when hauling hundreds of pounds of steel beams.